
 Well, it's more of a "how I did mine" than a tutorial, but I wanted to show the steps I took to make mine.
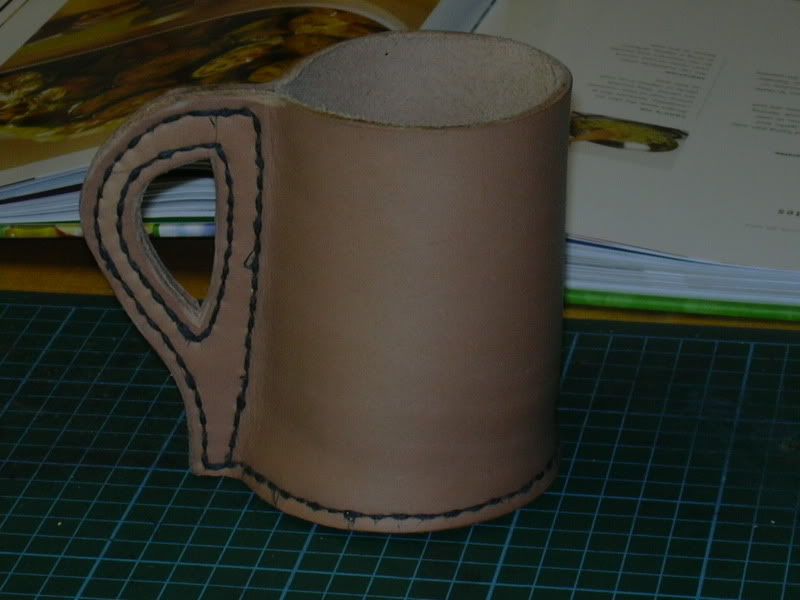
This is the fully stitched finished mug, wet formed to a nice round shape, before the beeswax is applied.
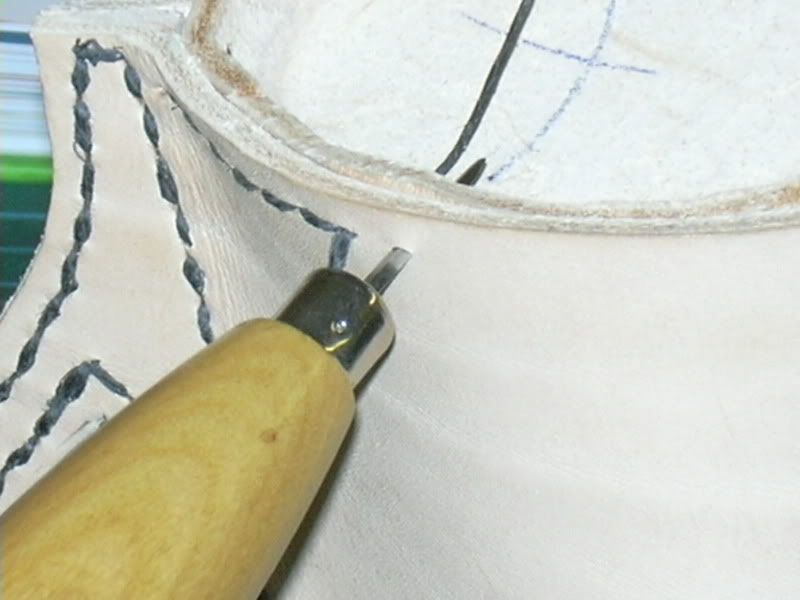
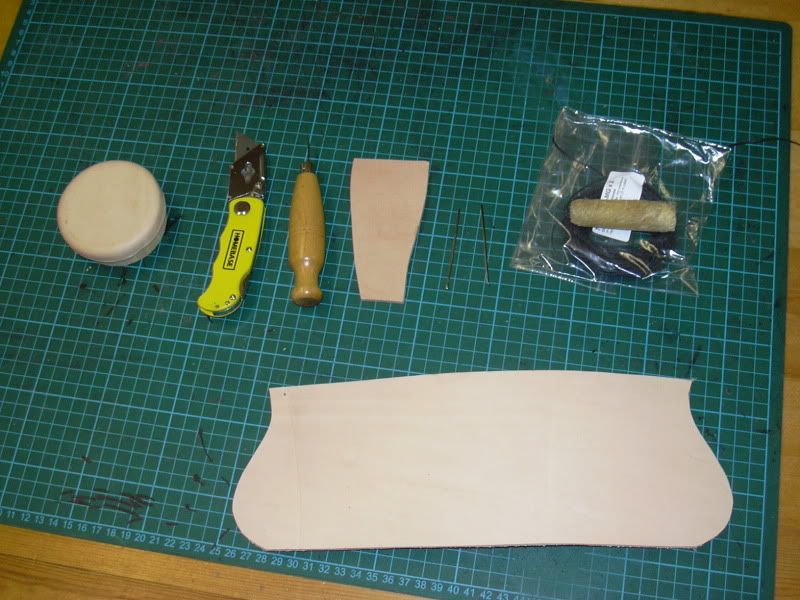 The parts and the tools I used . The base was moulded on a piece of soft wood. The leather piece next to the awl is inserted in the handle to thicken it. I am not using any glue. I am not using a stitch wheel either, the spacing is done by eye, about 5mm. The leather side looks curved but it is actually straight.
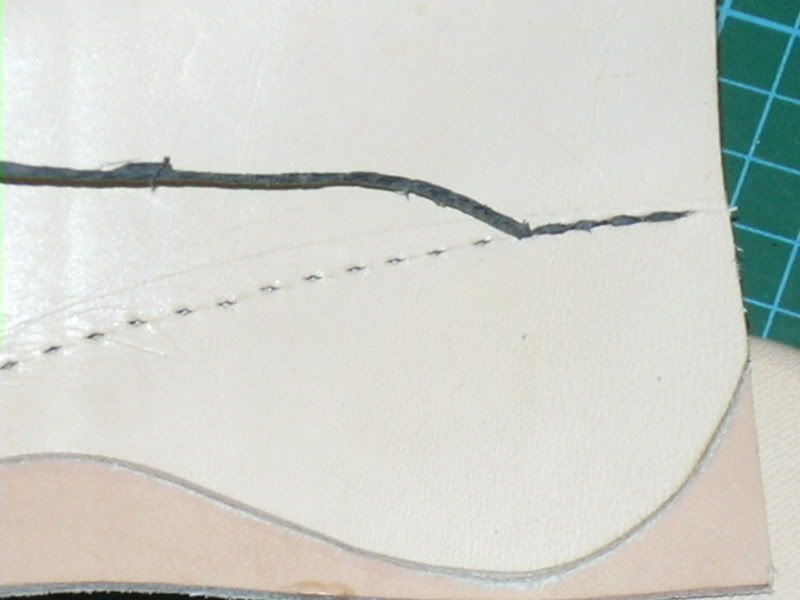 The first stitches. I use some coarse waxed hemp thread, two needles and saddle stitch.
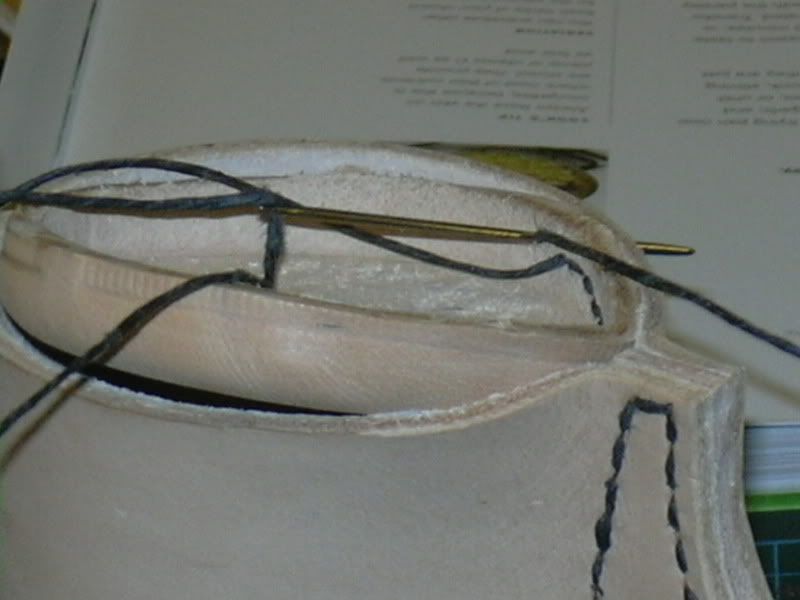
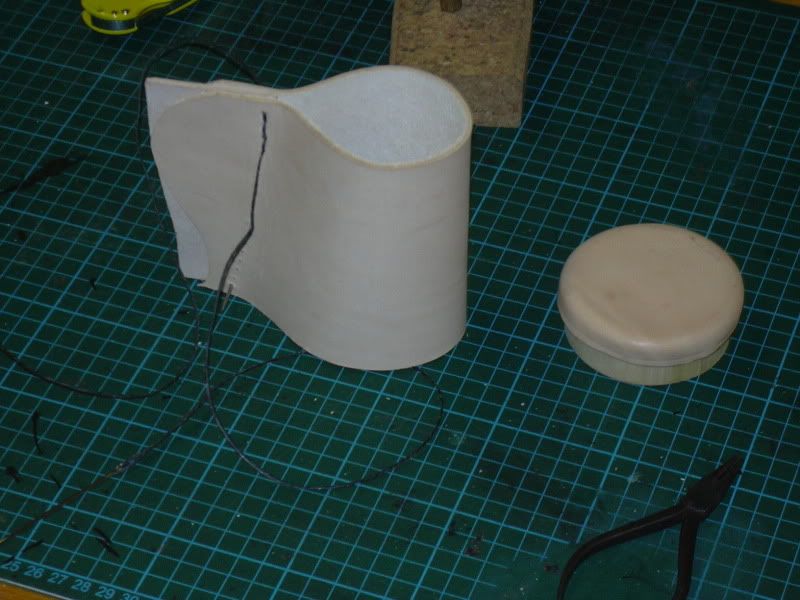 Stitching around the handle is done first. That's quite straightforward.
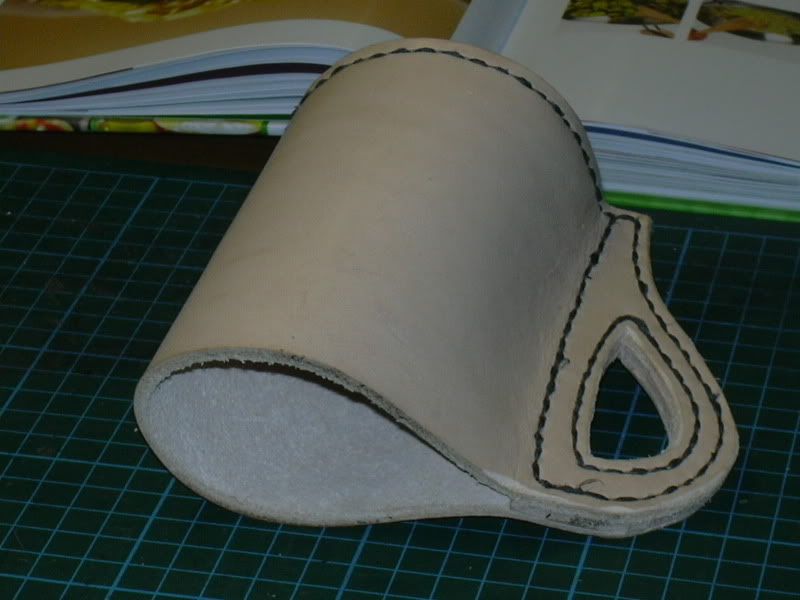
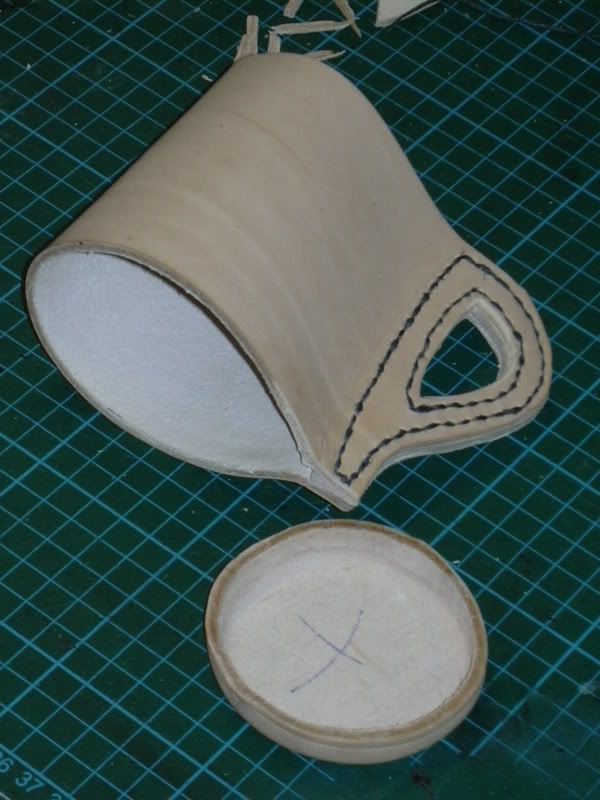
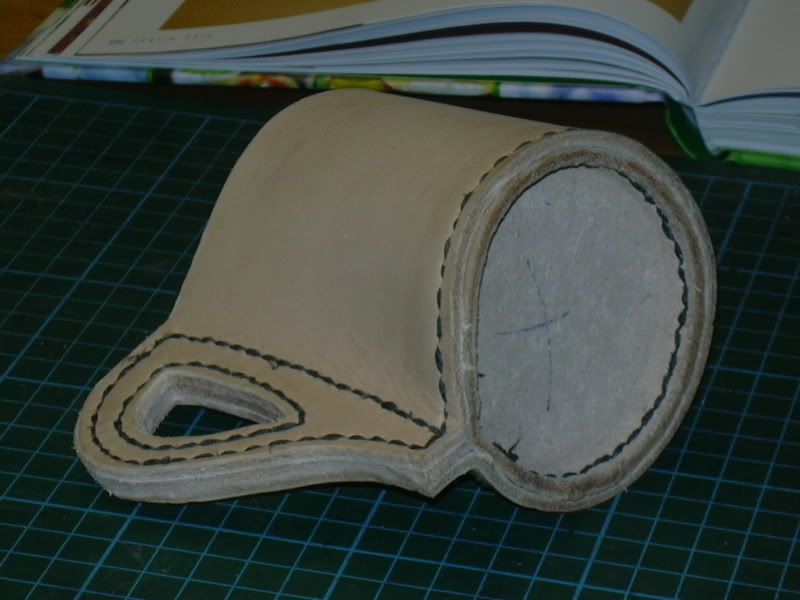
The stitched handle and the base.
Stitching the base. I inserted the base into the side then held then together between thumb and index. Each hole is punched individually with the awl, and then stitched. The start of the stitching around the base is a bit tricky, because this leather is a bit soft, but it becomes easier as you proceed around the base.
The base stitching done. I did not use a welt on the base of this mug.
The mug is not yet waxed. I'll post some pictures when I do it.
Good post, excellent, well done.
ReplyDeleteRegards, Le loup.
what type of leather did you use
ReplyDeleteIt was plain, ordinary veg-tan leather, about 3mm thick, medium sort of hardness, I only chose that because that's what I had at the time!
ReplyDelete